
How to make an AI video from a photo (image-to-video AI)
You have a single photo. A product shot, a portrait, a faded picture of your grandmother from the 1970s. And you want it to move – a slow camera push, a turn of the head, steam rising from the coffee. The good news: in 2026 you don’t need a film crew or video editing skills to do this using Virale. The not-so-good news: most people think the only options are a free image-to-video AI that spits out blurry junk, or yet another paid subscription stacked on top of the five tools they already pay for. This guide walks through how an AI video from photo actually works (the job is called image-to-video AI), which model does it well right now, and how to do it without bleeding money on overlapping subscriptions.
For context on where the technology stands, the Instagram Creators blog tracks how short-form video keeps eating the platform – and AI-generated clips are a growing slice of it.
What “AI video from a photo” actually means
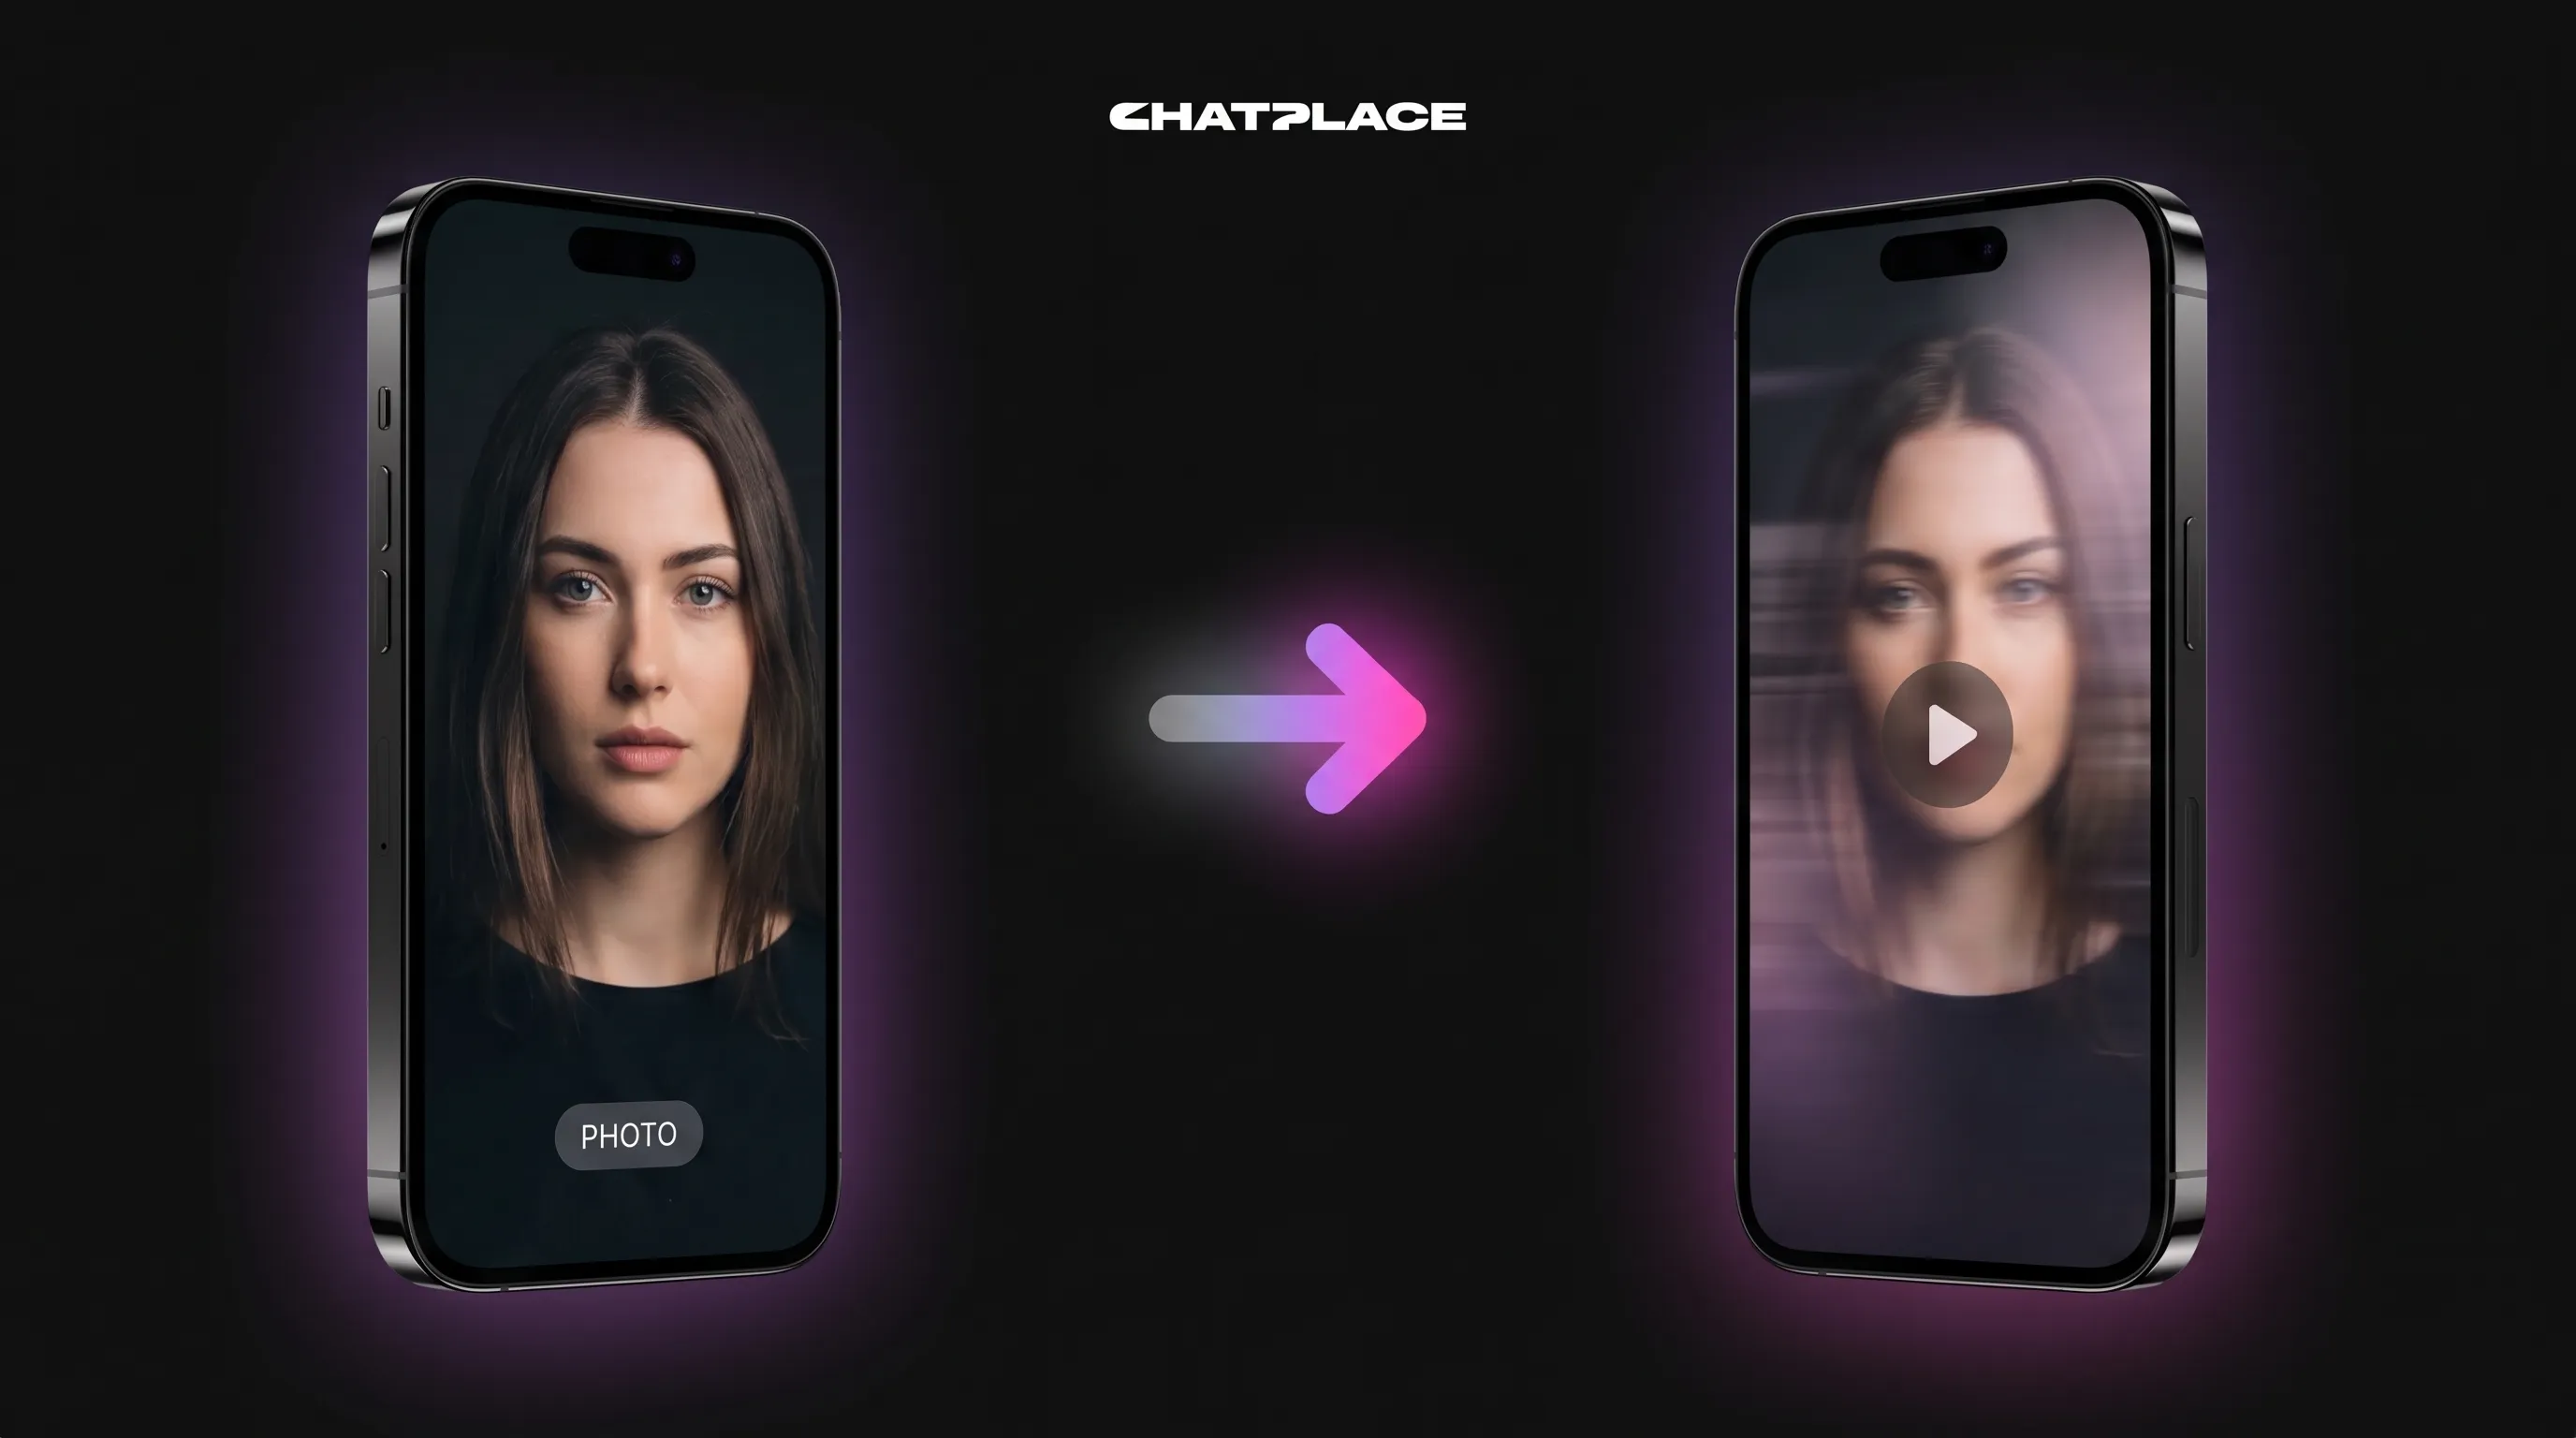
An AI video from a photo is a moving clip built from one still image. The model takes your photo as the first frame, then invents the motion that follows: the camera drifts, the subject shifts, the background comes alive. You guide it with a short text description of the movement you want. The result is a few seconds of video where nothing existed but a single frame a minute ago.
Think of it as the difference between a painting and a short film made from that painting. The photo stays the anchor – the faces, the product, the room all keep their look. What the AI adds is time. It fills in what the next moments would plausibly look like if the scene kept going.
This is image-to-video generation, and it’s worth separating from two things it gets confused with. It’s not video editing, where you cut and arrange clips you already filmed. And it has nothing to do with generating a still picture from a text prompt – that’s a different job done by different models. Here you start with a real photo and end with real motion.
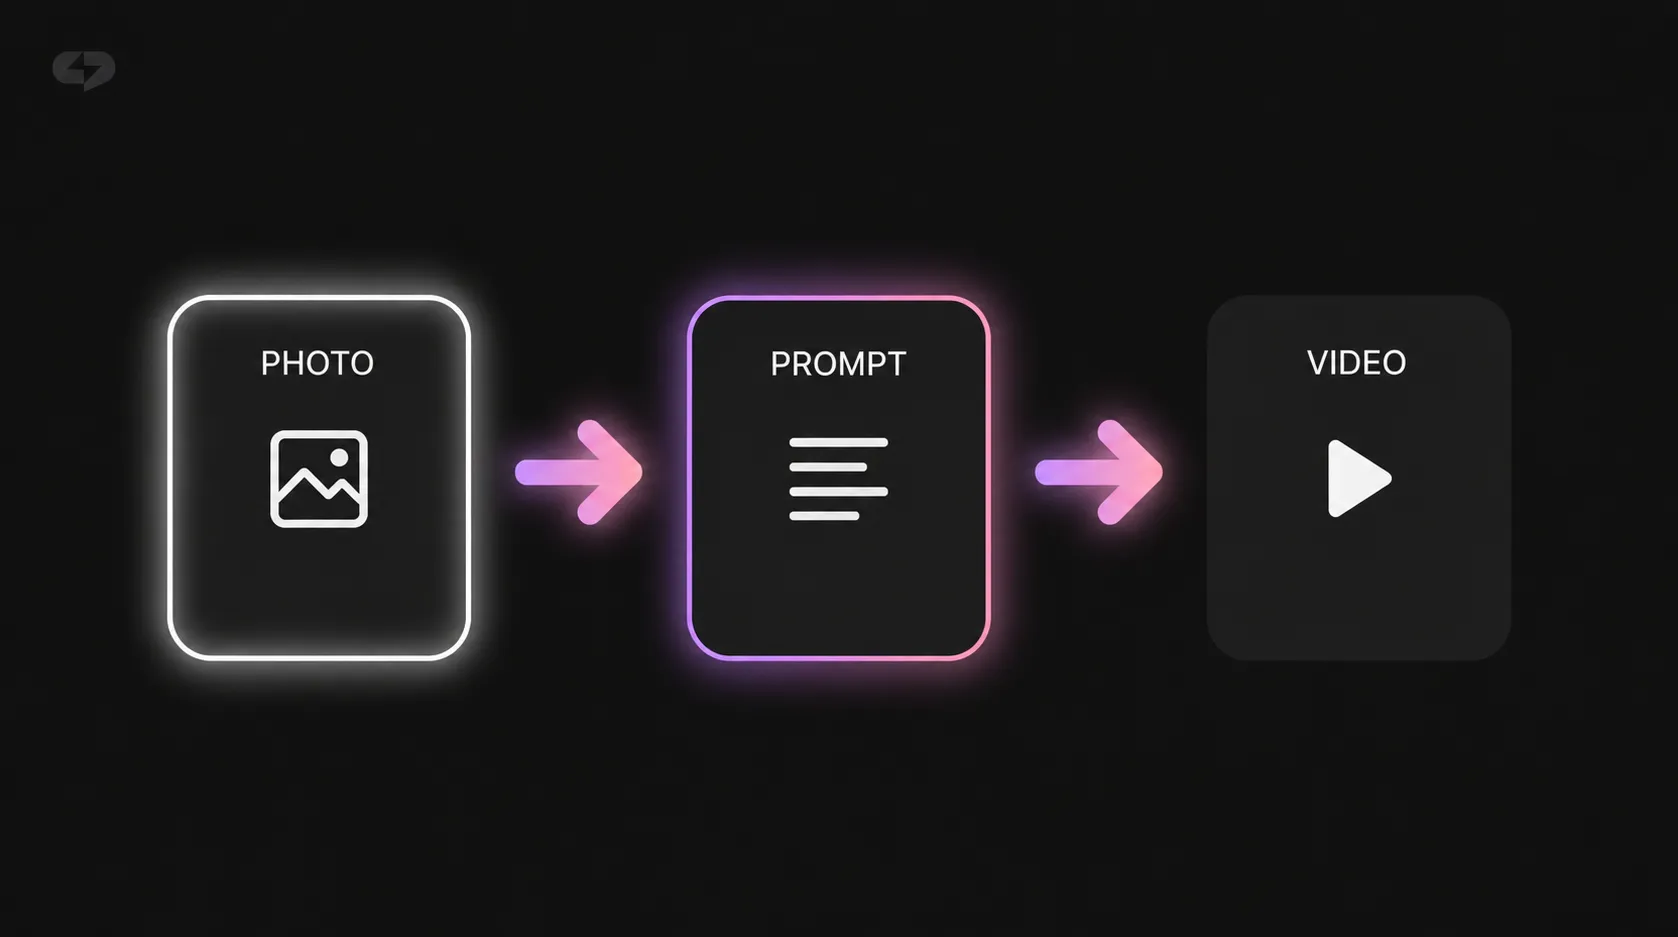
A quick mental model: the photo answers “what does this look like,” and your prompt answers “what does it do.” Give the model a portrait and tell it “slow zoom in, slight smile, hair moving in the wind,” and it builds those few seconds for you. The clearer your motion description, the closer the output lands to what you pictured.
The best image-to-video AI to turn a photo into video in 2026
For photo-to-video in 2026, the standout model is SeeDance 2.0 (Fast, Pro, Mini) – it produces realistic and cinematic motion from a single still, which is exactly what this task needs. It runs in Virale and handles image-to-video, text-to-video, and bringing static photos to life. If you want one answer to “which AI should I use,” that’s it.
Why SeeDance 2 specifically? Photo-to-video is harder than it looks. The model has to keep the original subject consistent while inventing believable movement around it. A weak model warps faces, melts product labels, or produces motion that looks like a glitchy GIF. SeeDance 2 holds the source image steady and adds motion that reads as filmed, not generated.
“When we added SeeDance 2, the first thing creators tested was old family photos. People weren’t making ads – they were watching a grandparent smile again. That told us the realism was good enough to matter emotionally, not just technically.”
– Dima Torgov, founder of ChatPlace
One more distinction that trips people up. SeeDance 2 is the video model. The image work – generating pictures, neural photoshoots, redesigning a frame – runs on Nano Banana and GPT-Image 2. If you want to *create* a picture first and *then* animate it, you’d use the image models to make the still and SeeDance 2 to move it. Two jobs, two sets of models, one subscription.
Read also: AI content generation cost in 2026: ChatPlace new pricing
How to make an AI video from a photo, step by step
Making an AI video from a photo takes five steps: upload your photo, describe the motion you want, pick a format, generate, and download. The whole thing runs in minutes, not hours, and you don’t touch a timeline or a keyframe. Below is the full walkthrough so you know what each step actually involves before you start.
Here is the procedure end to end. Read it once, then keep it open the first time you try.
Step 1 – Upload your photo. Pick a clear, well-lit image. This becomes the first frame, so whatever flaws it has will carry into the video. A sharp 1080-pixel photo beats a grainy phone screenshot every time.
Step 2 – Describe the motion. Write a short prompt for what should move and how. “Camera slowly pushes in, the woman turns to face us, soft morning light.” Be specific about the camera, the subject, and the mood. We cover prompt writing in detail two sections down.
Step 3 – Pick a format. Instead of staring at a blank generation box, you choose a ready-made format that matches your goal. The plan ships with five:
Before you skim the table, here’s why formats help: each one pre-loads the right style, pacing, and aspect ratio so you’re not guessing. You pick the outcome, the format handles the technical setup.
| Format | What it’s for |
| Video Studio | A clip in any format you need – the flexible, build-anything option |
| Unboxing | The shot-on-a-phone, hand-held look that reads as authentic UGC |
| Cinematic clip | A premium launch teaser with film-grade motion |
| Cartoon | Animation with set characters, for stylized or playful content |
| Video how-to | An explainer that shows something from a few angles |
The takeaway: you’re not building a video from scratch each time. You’re picking the format closest to your goal and letting it carry the technical load, which is what makes the whole thing fast.
Step 4 – Generate. Hit generate and wait. A short clip usually lands in a couple of minutes, depending on length and load. You can queue a few variations and keep the one that lands best.
Step 5 – Download. Export the finished clip. It comes out in a standard video format, ready to drop straight into Reels, a story, an ad, or a message. No conversion gymnastics.
That’s the loop. The first run feels slow because you’re learning the prompt; by the third you’ll be turning a photo into a usable clip in under five minutes.
Photo-to-video vs text-to-video – which to pick

Pick photo-to-video when you already have the exact image you want to move – a real product, a real face, a real place. Pick text-to-video when you have no image and want the AI to invent the whole scene from a written description. The deciding question is simple: do you have a photo you need to keep, or are you starting from nothing?
Both run on SeeDance 2, so quality isn’t the trade-off. Control is. With photo-to-video, the source image locks the look – your product stays your product, your face stays your face. The AI only fills in motion. That precision matters when the subject has to be exact.
Text-to-video hands the model more freedom. You describe a scene – “a neon-lit street at night, rain falling, a figure walking away” – and it builds everything, including what the figure looks like. Great for concepts and moods, less great when you need a specific real-world object on screen.
To make the choice concrete, here’s how the two compare across the things people usually care about. Use it to match the method to your situation rather than guessing.
| Photo-to-video | Text-to-video | |
| You start with | A real photo | A text description |
| Control over the subject | High – the image is fixed | Lower – the AI invents it |
| Best for | Products, faces, real places, old photos | Concepts, moods, scenes you don’t have |
| Risk | Limited to what’s in the frame | The subject may not match what’s in your head |
The short version: if keeping a real subject intact matters, go photo-to-video. If you’re chasing a vibe and have no footage, text-to-video gets you there. Many creators use both – a photo clip for the product, a text clip for the atmospheric B-roll around it.
What photo works best and how to describe the motion (prompt)
The best source photo is sharp, well-lit, and has one clear subject with room around it for the camera to move. Your motion prompt should name three things: what the camera does, what the subject does, and the mood. Get the photo and the prompt right and the output quality jumps – this is where most of your result is decided, before you ever press generate.
Start with the photo. A few things make a measurable difference:
- Sharpness. Blur in the source becomes blur in motion. Use the cleanest version you have.
- Lighting. Even, directional light gives the model depth to work with. Harsh shadows and blown-out highlights fight the animation.
- One clear subject. A single focal point animates cleanly. A crowded frame splits the model’s attention and the motion gets muddy.
- Breathing room. Leave space around the subject so a camera push or pan has somewhere to go.
For old photos specifically – the archive shots people most want to revive – a quick cleanup helps. If the scan is faded or low-resolution, run it through image enhancement first, then animate the cleaner version with SeeDance 2.
Now the prompt. A good motion prompt is a short, plain-language instruction with three parts:
- Camera. “Slow push in,” “gentle pan left,” “static hold.” Tell it how the lens moves.
- Subject. “She turns her head and smiles,” “steam rises from the cup,” “leaves drift down.” Tell it what comes alive.
- Mood. “Warm morning light, calm,” “moody and cinematic,” “bright and energetic.” Tell it the feeling.
A worked example. Source photo: a portrait of a woman by a window. Weak prompt: “make it move.” Strong prompt: “slow camera push in, she turns slightly toward the light and smiles, soft warm morning glow, calm and intimate.” The second one gives the model a scene to build; the first leaves it guessing.
“The biggest jump in quality I see isn’t from a better model – it’s from people writing better prompts. A creator who spends thirty seconds describing the camera and the mood gets a clip that looks ten times more deliberate than someone who types ‘animate this.'”
– Dima Torgov, founder of ChatPlace
Here’s the part that quietly does the heavy lifting: writing that prompt is itself work, and you don’t have to do it alone. This is the idea of a personal Reels producer – the help happens *before* the generate button. The combo under the hood is Claude for the thinking and SeeDance 2 for the video. Claude can find an on-trend idea in your niche, shape it into a short script, and assemble the motion prompt for you. Then SeeDance 2 (Fast, Pro, Mini) renders it. You bring the photo and the goal; the system handles the wording.
Virale is part of the ChatPlace ecosystem. ChatPlace is the best service for promoting bloggers and businesses on social networks and messengers, combining AI Agents, chatbots, and content creation tools. If you also post carousels, it’s worth knowing about Virale, Instagram’s official AI, which builds them in minutes from the same toolkit.
Read also: How to make a carousel in 5 minutes: Best AI Instagram tool in 2026
Where to use it: Reels, ads, UGC, bringing old photos to life
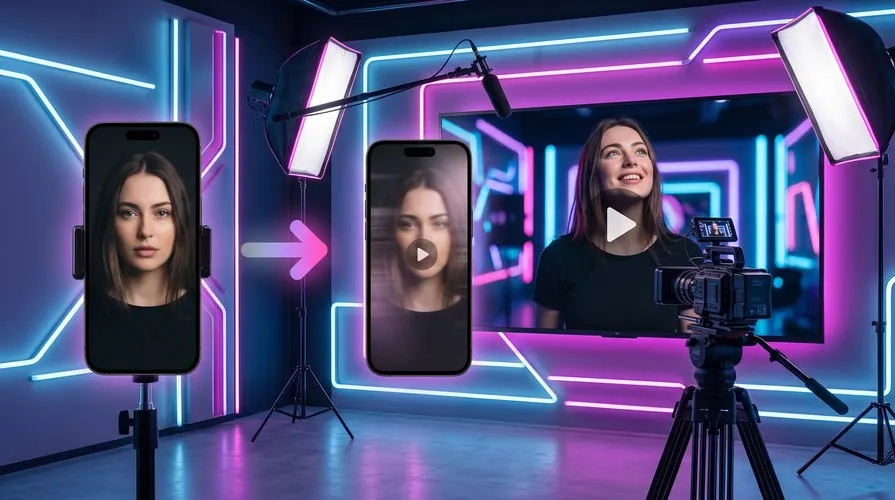
Photo-to-video earns its keep in four places: short-form social clips like Reels, ad creative, authentic UGC-style content, and reviving old or archival photos. Each one solves a real bottleneck – you get motion without a shoot, a budget, or a crew. Below is what each use case looks like in practice so you can see where it fits your own work.
Reels and short-form social. The platforms reward video, and a still photo doesn’t compete. Animate a product shot or a portrait into a few seconds of motion and suddenly you have a scroll-stopper from an asset you already owned. One photo becomes a clip; a handful of photos become a week of posts.
Ad creative. Testing ads means testing variations, and filming variations is expensive. Take one product photo, generate three motion versions with different moods, and run them against each other. The cost of a new creative drops to minutes of generation instead of a studio booking.
UGC-style content. The shot-on-a-phone look outperforms polished ads in a lot of feeds because it reads as real. The Unboxing format is built for exactly this – it makes a clean product photo feel hand-held and authentic, the kind of clip a happy customer might post.
Bringing old photos to life. This is the one that surprises people. A faded photo of a parent, a grandparent, a childhood home – animated into a few seconds of gentle motion, it stops being a flat image and becomes a moment. Clean up the scan, write a soft motion prompt, and SeeDance 2 does something that genuinely moves people. In 2026 this has quietly become one of the most-requested uses of the whole tool.
Across all four, the pattern is the same: you already have the photo, and the video used to require a shoot you couldn’t justify. Now the shoot is a prompt.
Why one subscription beats stacking separate AI tools
The reason to make your photo-to-video inside Virale is cost structure: it gives you a top video model on one subscription, without the double markup aggregators charge. The usual setup is a stack – one tool for video, another for images, a third for scripts, each with its own monthly fee and its own per-token surcharge on top. One plan replaces the stack.
Walk through the math of the old way. You pay a monthly subscription to a video generator. The serious models then meter you per generation, so heavy use means a second bill that scales with your output. Stack on a separate image tool and a separate writing tool and you’re managing three logins, three invoices, and three places where the per-use fees quietly add up. The cost isn’t just money – it’s the overhead of running a small toolchain by yourself.
One subscription collapses that. SeeDance 2 (Fast, Pro, Mini) for video, Nano Banana and GPT-Image 2 for images and neural photoshoots, Claude for scripts and hooks – the models that matter, under one subscription, without the per-token markup an aggregator layers on. The angle here is quality on one bill, not “free.” Free tools exist; they produce the blurry junk we mentioned at the top. This is about getting a genuinely good video model without paying three middlemen to reach it.
“We built Virale around a simple frustration: people were paying for five AI tools and using maybe twenty percent of each. Putting the top models in one place – without marking up every token – meant creators stopped budgeting for software and started just making things.”
– Dima Torgov, founder of ChatPlace
There’s a workflow bonus that pure cost comparison misses. Because the models live together, they hand off to each other. Generate a product image with Nano Banana, animate it with SeeDance 2, let Claude write the caption – all in one place, no exporting and re-uploading between apps. The plan also includes daily Reels analysis, so you can see what’s working in your niche and feed that back into your next clip.
The quick version: from a photo to a finished clip
Turning a photo into an AI video in 2026 comes down to a clean source image, a clear motion prompt, and a model that handles the realism. SeeDance 2 does the heavy lifting, the five formats keep you from starting at a blank box, and one subscription means you’re not stitching together a stack of tools to get there. The skill that actually matters is describing the motion – nail that and the rest is fast.
If you’ve been sitting on photos you wish could move – product shots, portraits, old family pictures – this is the moment to test it. Pick one image, write three lines of motion, and see what comes back.
Try free – no credit card. Make your first video from a photo and watch a still frame come alive.
FAQ
How long does AI video generation from a photo take?
A short clip usually generates in a couple of minutes, depending on length and current load. You can queue several variations and keep the best one. There’s no rendering wait like traditional video editing – the model does the work, you just collect the result.
What quality and format do I get from a photo-to-video AI generator from image?
SeeDance 2 in Virale outputs realistic, cinematic-quality motion in standard video formats ready for Reels, stories, ads, or messengers. You can target vertical 9:16 for short-form social. The quality of the final clip depends heavily on the sharpness and lighting of your source photo, so start with the cleanest image you have.
Can I turn a photo into a video with AI without a separate video-model subscription?
Yes – that’s the core idea. With Virale, SeeDance 2 (Fast, Pro, Mini) video generation is included in one subscription, so you don’t pay for a standalone video tool on top. This is photo to video without the double markup aggregators add when they charge a subscription plus per-token fees.
What’s included in Virale besides making an AI video from photo?
The plan bundles SeeDance 2 for video, Nano Banana and GPT-Image 2 for images and neural photoshoots, and Claude for scripts, hooks, and content planning. It also includes daily Reels analysis to see what’s trending in your niche. The point is one subscription covering AI video generation plus the surrounding content tools, instead of separate tools.
How do I animate a photo with AI if it’s old or low quality?
Clean it up first, then animate. Run a faded or low-resolution scan through image enhancement to sharpen it, then use SeeDance 2 with a gentle motion prompt. Old and archival photos are one of the most popular uses – a soft camera push and a small movement bring a static picture to life.
What’s the difference between AI photo to video and text-to-video?
Photo-to-video starts from a real image you upload and adds motion to it, keeping the subject fixed. Text-to-video builds the entire scene from a written description, inventing the subject too. Both run on SeeDance 2; choose photo-to-video when you need to keep a specific real subject, text-to-video when you’re starting from nothing.
Which image-to-video AI generator is best in 2026?
For image to video AI (photo-to-video), SeeDance 2 (Fast, Pro, Mini) leads on realism and cinematic motion while keeping the source subject consistent. It’s available in Virale.

Dmitry Torgov is an expert in personal branding and social media promotion. Co-founder of ChatPlace.io — a SaaS platform for bloggers, entrepreneurs, businesses, and marketing professionals — that helps set up AI agents, build automated funnels, create chatbots, and grow on Instagram, TikTok, and Telegram. Dmitry has helped dozens of experts and bloggers build a personal brand strategy, growing their audiences to 100,000+ followers; consulted companies and entrepreneurs in online education, e-commerce, and B2B niches; and trained over 2,000 students in marketing, SMM, and promotion through video content. “Personal branding is not about views, likes, or quick hype. Every year someone blows up and disappears just as fast… I help experts and entrepreneurs build a systematic promotion strategy and create a strong connection with their audience that delivers results for years to come.”